Showing posts with label hot glue. Show all posts

Wednesday, October 13, 2010

Fall Mantle

My fall mantle has been up for a couple of weeks, I just hadn't taken pictures of it for some reason.  The color block piece that you see on the right was taken from Jennifer at Hope Studios tutorial on a Paint Chip Mosaic. It's made out of paint chip samples for a home improvement store! Go check out her tutorial on how to make this super inexpensive artwork! Today I wanted to show you how I made my leaf art. First, I bought a certificate frame from, where else, Dollar Tree.
I spray painted the frame black. I removed the cardboard center and hot glued burlap to it.
Then, I cut out a leaf using my Silhouette onto cardstock as a stencil.
Silhouette Image Leaf_0476
Then, I used the saran wrap technique to apply my orange acrylic paint. I think by using the saran wrap, it doesn't give it such a "perfect" look. More like and aged, or rough look. 
I put it back in the frame and super glued some buttons on to give it some dimension. Simple. Easy.
Love it.

Monday, October 11, 2010

Fall Wreath for my Mom

My Mom wanted a Fall Wreath for her door so we headed to get our supplies.
We pulled the leaves off the stems and glued them on individually.
Then, we added some little foam beads in fall colors with the glue gun. It turned out cute! 
Happy Fall!

Wednesday, October 6, 2010

Fall Wreath

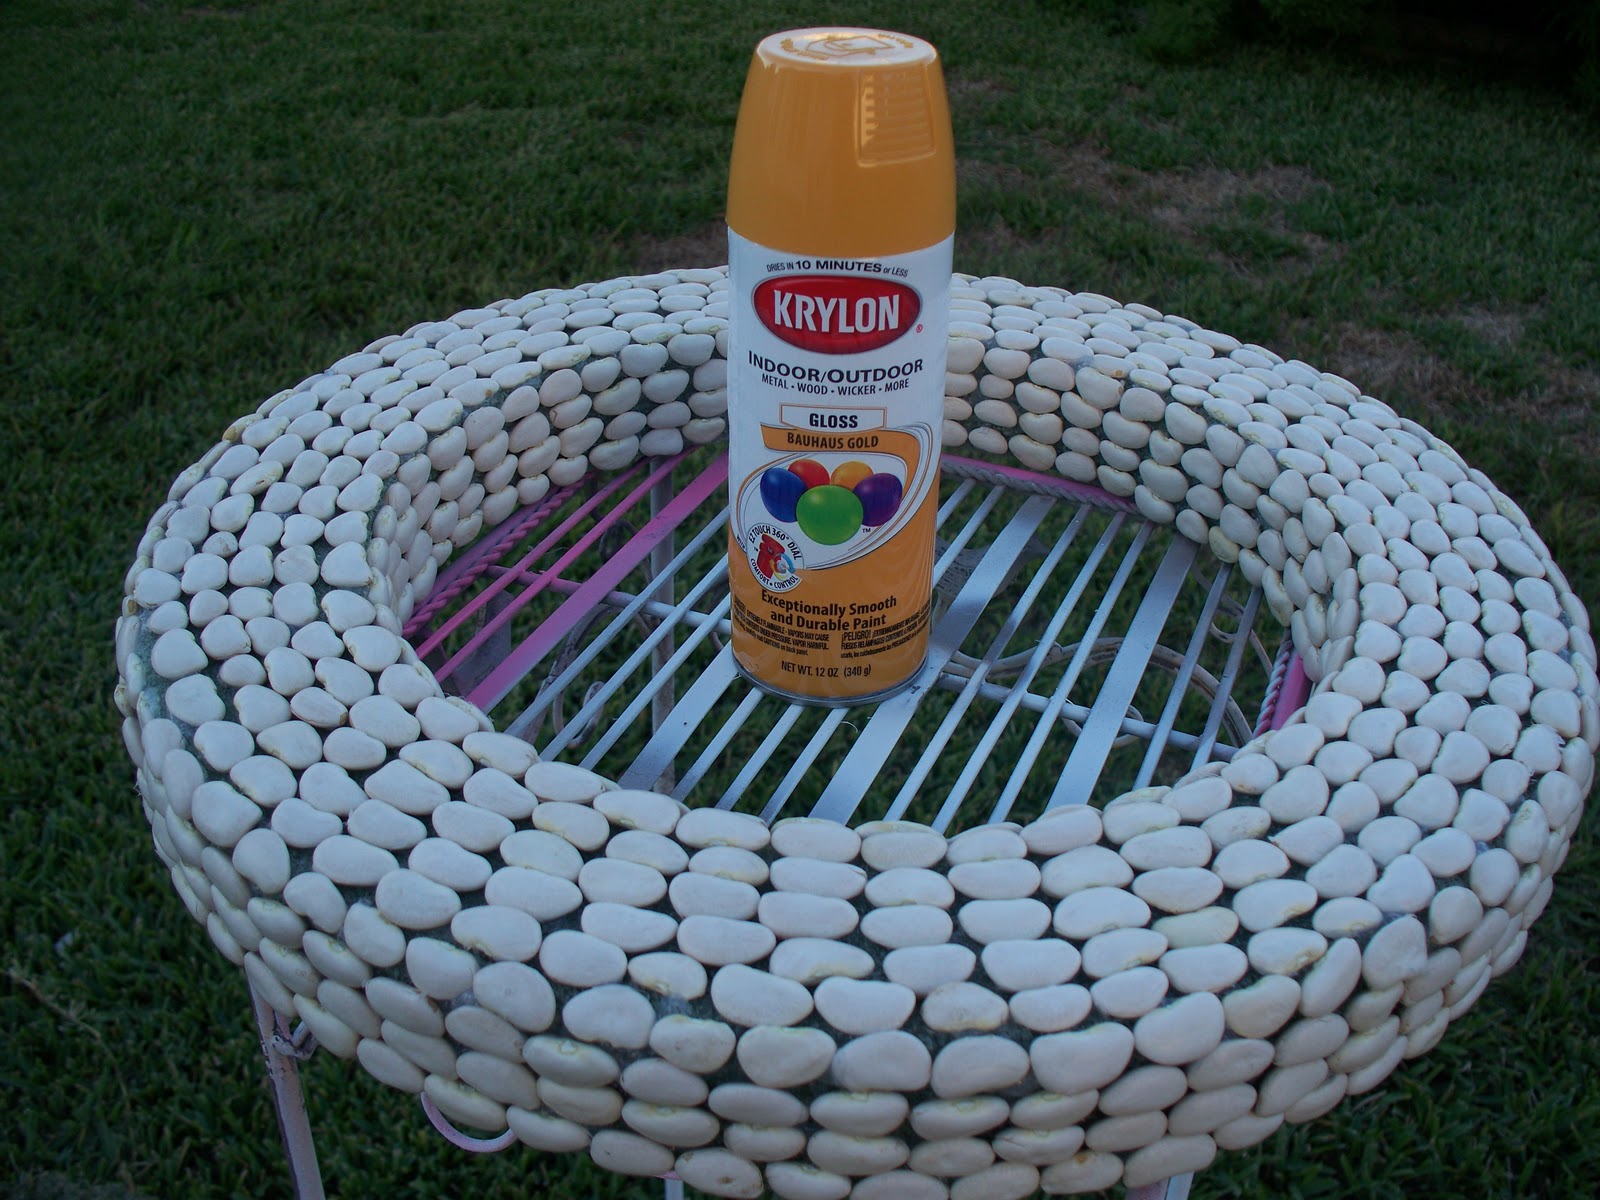
Well, it was about that time to take down my Summer Wreath. Although I loved it, I have been itching to get my fall decorations up. Brooke at All Things Thrifty had posted this lima bean wreath tutorial and I knew this was exactly what I was looking for. The thing I was most giddy about was the paint color that I knew I was going to choose.

For this project I used one 2 pound bag of lima beans.
I started by first covering the front side of the wreath form. I just piled all the beans up in the middle and just grabbed and hot glued.
 For the sides, it was easiest to sit on the floor and place the wreath up and down and just glue and rotate.
 Then, I did the same thing on the inside of the wreath. I left the back completely blank, so it would lay flat against my door. Next up was COLOR!!
 Can we talk about this color? Krylon's Bauhaus Gold. It's a warm mustard yellow. LOVE! I knew against my red door, with my orange pumpkins for fall, that Mustard Yellow was the way to go. It's my new favorite color.
 Yay! So simple, so sophisticated looking.
 Who knew lima beans could look so good??

Sunday, October 3, 2010

Baby Name Board

I'm not an artist. I think there is a real difference between someone who can craft, and create things, and an artist. Being an artist takes some real talent. So when I saw this post over at Little Blue Boo I put it in my "Dream" folder. Ashley is a true artist! I absolutely love the way the layering on her pieces looks. She has made a bunch of these, and they are all different, unique, and just perfect!  You can see some of her other ones by clicking here, here, and here. 

So, a friend of mine was having a baby shower and I thought I would just attempt to create something like this. I kept saying to myself that if I messed up it was OK. I could just sand it down and use it for another project, right? Right. So, with Ashley's projects as inspiration I started working on my piece for Miss Kallie Joann. I used different elements from her pieces that I absolutely loved. I started with a wood plaque and spray painted it white. I added some vinyl letters that I cut using my Silhouette. I spray painted the whole thing with Valspar's Tulip Pink and peeled off the letters when it was dry.
I then painted each letter with a fine tip brush. I used all acrylic paints.
 I used Ashley's advice and bought a medium point and fine point black paint pen. I outlined everything with the medium point paint pen.
 I then added different elements to each letter. For the stitching, I used a fine point black paint pen.
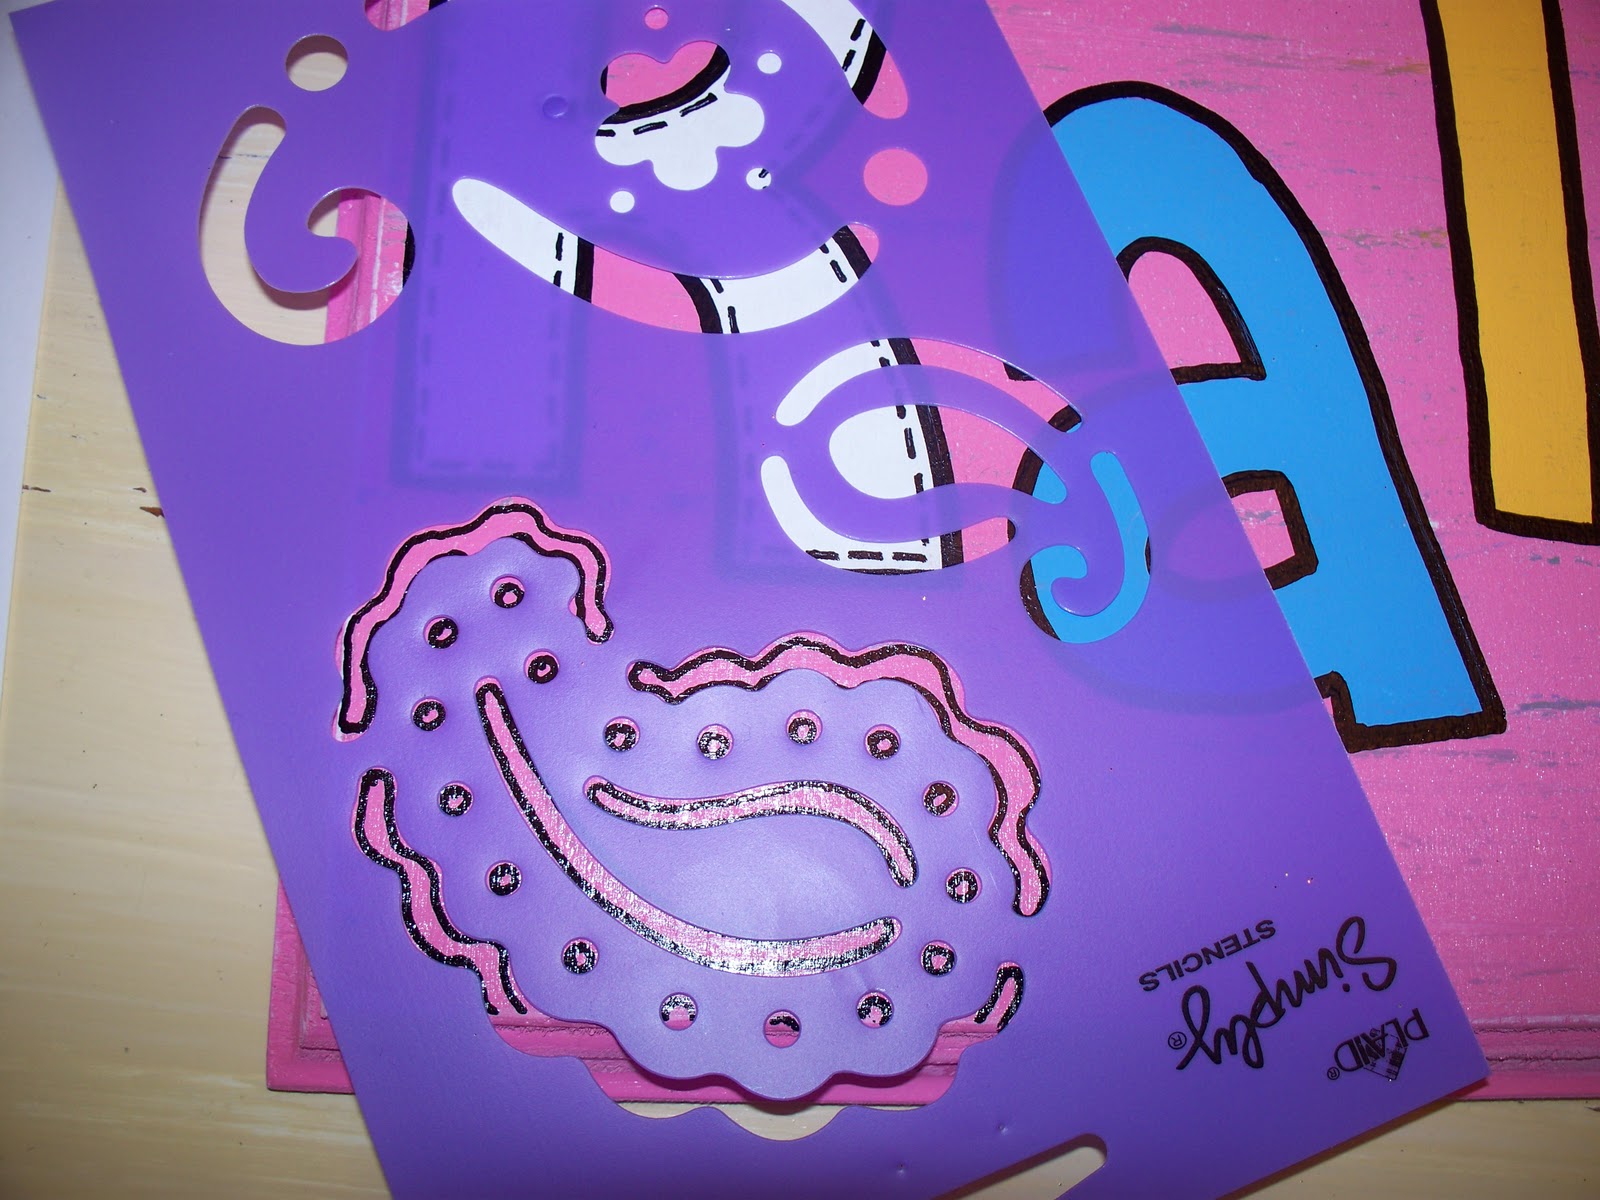
 I used a stencil in two of the corners. I outlined them with a pencil, and then filled them in with the paint pen.
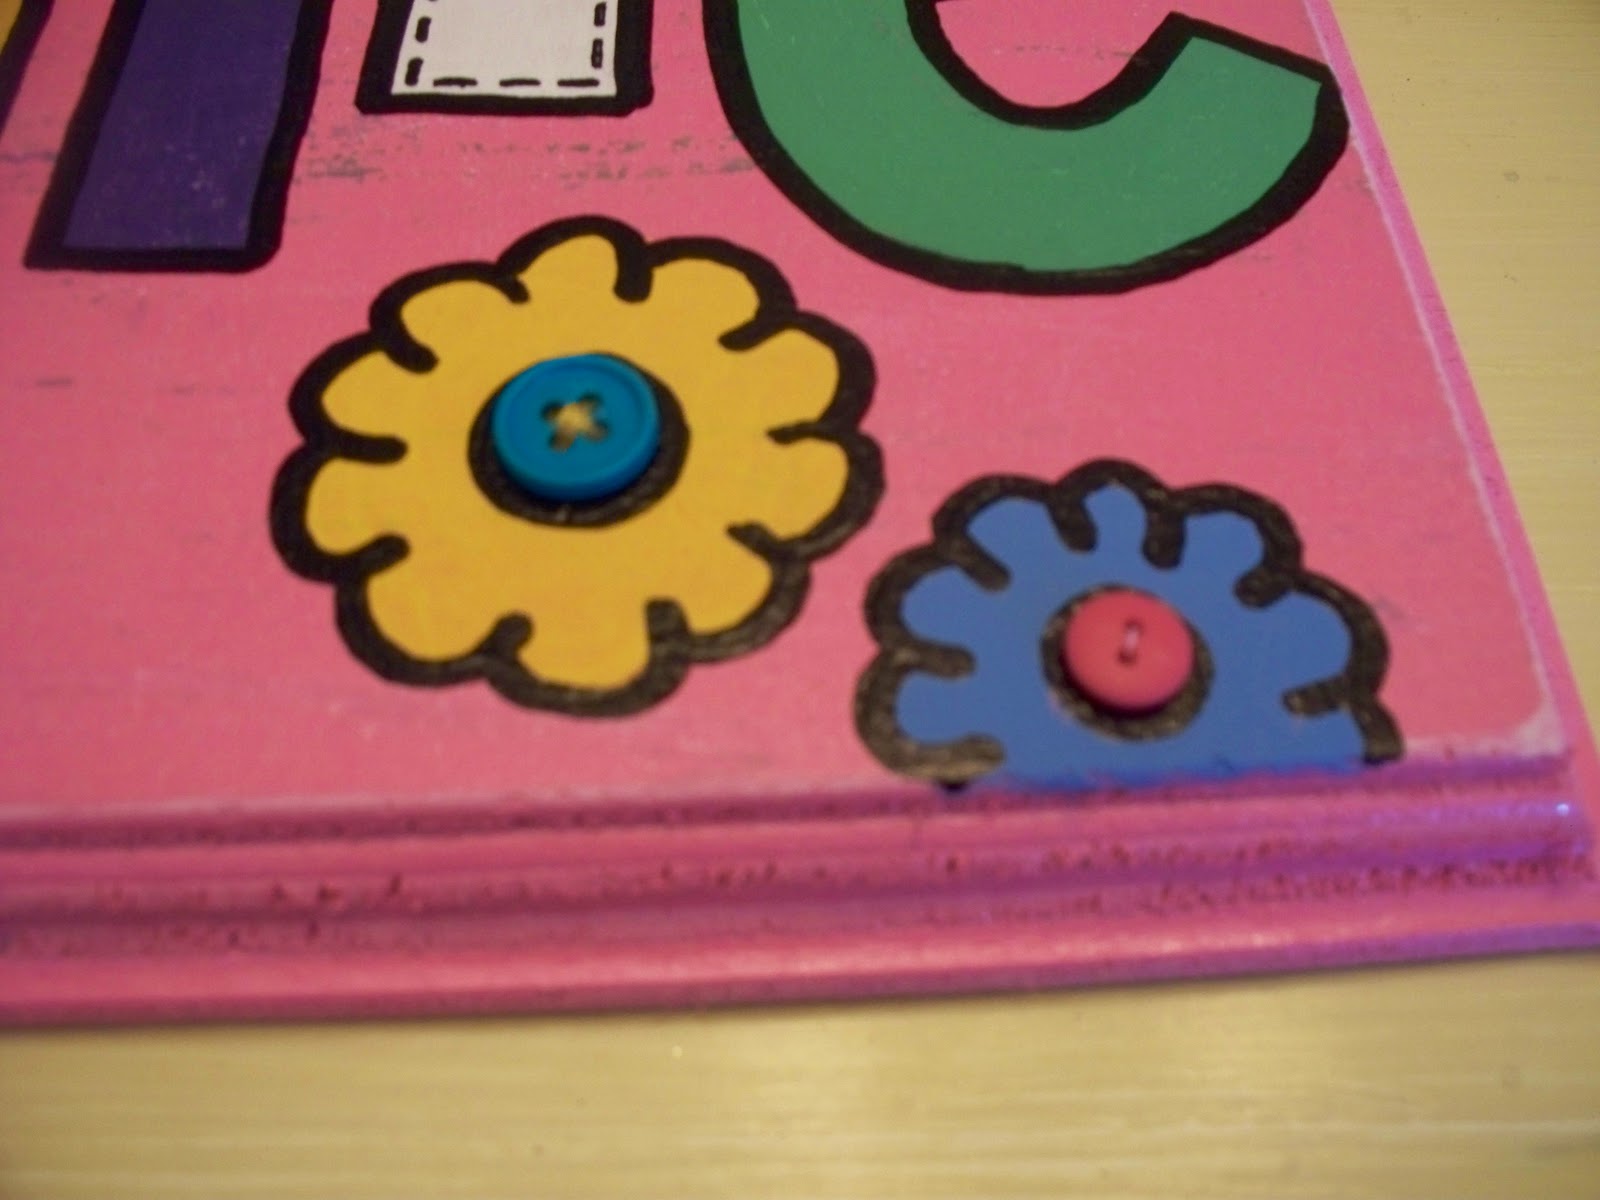
 For the centers of my flowers I added stitching to my button holes and hot glued the buttons on.
 To add more dimension, I used a paint brush that the tip had come off of and added dots to different parts of the letters.
 I free handed the little saying with my fine point paint pen.
 I love how it turned out. I think for my first one, it worked out pretty well.
 Most importantly, Kallie's Mommy loved it!!
UndertheTableandDreaming

Thursday, September 9, 2010

TP Wall Art Tutorial

Say what?!? TP...as in Toilet Paper??...for your walls? I know it sounds crazy, but trust me, the end product is like nothing you've ever seen. There were a couple of these floating around that I really thought were cute, like here, here, and here. I decided to do mine a little differently though. Here's how:

Supplies:
Lots and lots of toilet paper rolls (I used 11)
Hot Glue
Spray Paint or Acrylic Paint (optional)

Cut your tubes into about 1" strips. You want to make sure that they are all equal widths, or some will be higher than others which makes it hard to attach without looking wonky. I made a little template size with cardstock that made it easy.
Decide what shape you want to make. I decided on flowers with 8 petals. The easiest way I found to do this was to line up the end, and just glue the amount you needed. See the picture, it might make it more clear.
Once you glue all that you need, you'll open your flower and glue the two petals (from the top and bottom of your stack) to each other.
See, pretty flower.
Now, just make as many as you need for whatever shape you're going for. Check out those links at the top for what the other ladies did, super cute! I needed 12.
I laid out my design and decided that I wanted to paint mine, I've seen a lot left natural. I tried spray painting mine first, but after 3 coats, although more time consuming, I decided to paint mine with acrylic paint. I wanted a good solid cover. I painted all but one white, with the one being yellow. Then, I glued my flowers on the ends that connected.
Doesn't it look great? My sis has it hanging in her office, along with this, these, and some of these!
Cuuuuuute! And who's going to know it's made of Toilet Paper? Well...all of you, but we won't tell! :)

Monday, August 30, 2010

Back to School Goody Bag!

I made a Back to School Goody Bag for my friend's daughter. Her favorite colors are purple and blue.

I made her a Felt Flower Pin or she could wear it on a headband.
Chelsea over at Crafter's Anonymous Club just posted a video tutorial here.

I also made her a button headband.
I posted about making these here. This time, I attached a skinny piece of black felt to the headband first, and then added the buttons to the felt, to avoid any buttons popping off.

I ordered some Mod Posge Dimension Magic from their website, you can read about it here! I couldn't wait to try it out. So, I made her a scrabble tile necklace.
Debbie at A Creative Life posted a tutorial here.
* I didn't have any scrabble tiles, so I just bought a pack of square wooden pieces from Hobby Lobby. It worked pretty well!

Sunday, August 29, 2010

Rosette Ring

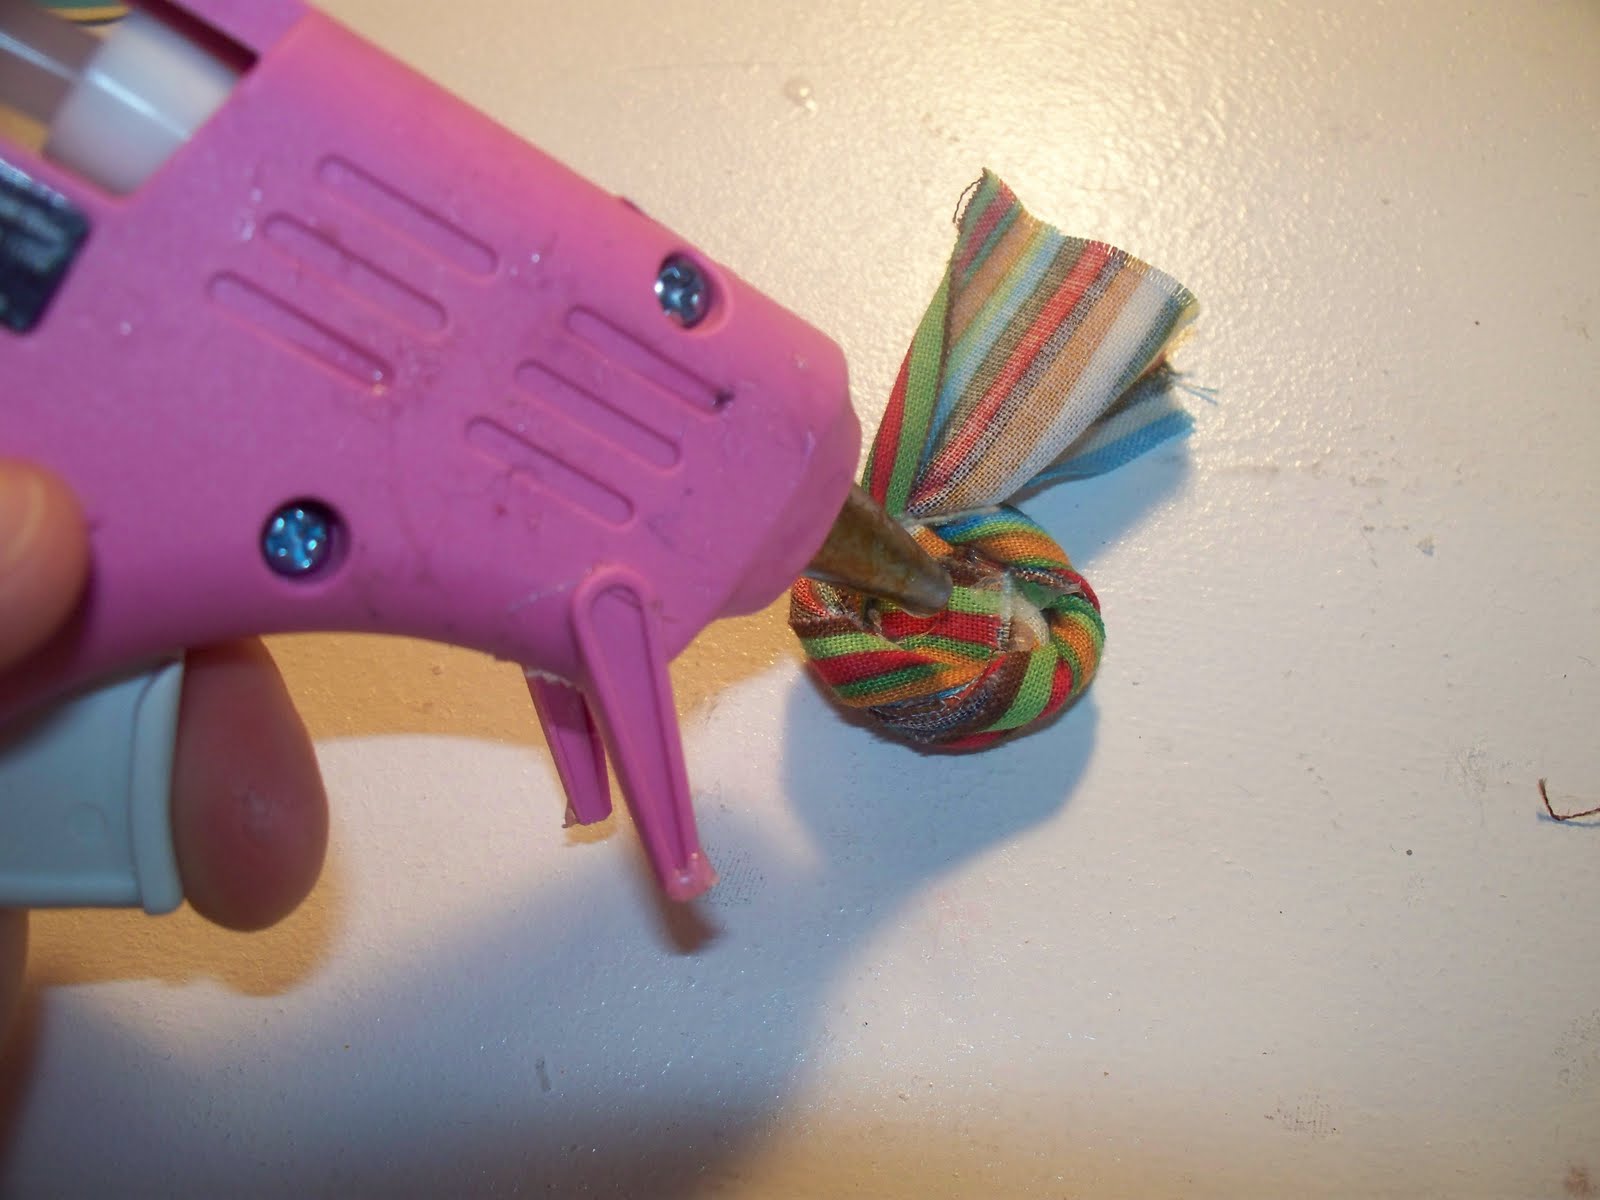
I tried my hand at making the cute rosettes that everyone is making. They are so simple to do, and look so cute when you're done. Here is how I made mine. I started with a fabric strip about 2" wide. Put a dot of hot glue and fold it in half.
Add another dot of glue and fold it over again.
Now, fold your strip over half of the end. This gives you a little base to start twisting and gluing your rosette.
The next steps were hard to get a picture of. Hold your rosette with one hand and twist your fabric with the other. Put a dot of hot glue and keep working your fabric around until you have the size rosette you want. Finally, fold the end of your fabric over the back and glue it down. Cut off any excess fabric.
I decided to add my rosette to an adjustable ring with a pad that I got at Hobby Lobby. I love how it turned out and wear it all the time!
Cute!