Showing posts with label craft. Show all posts

Monday, October 24, 2011

We Interrupt These Wedding Posts...

I found the pictures from a baby shower gift I made that I wanted to share!

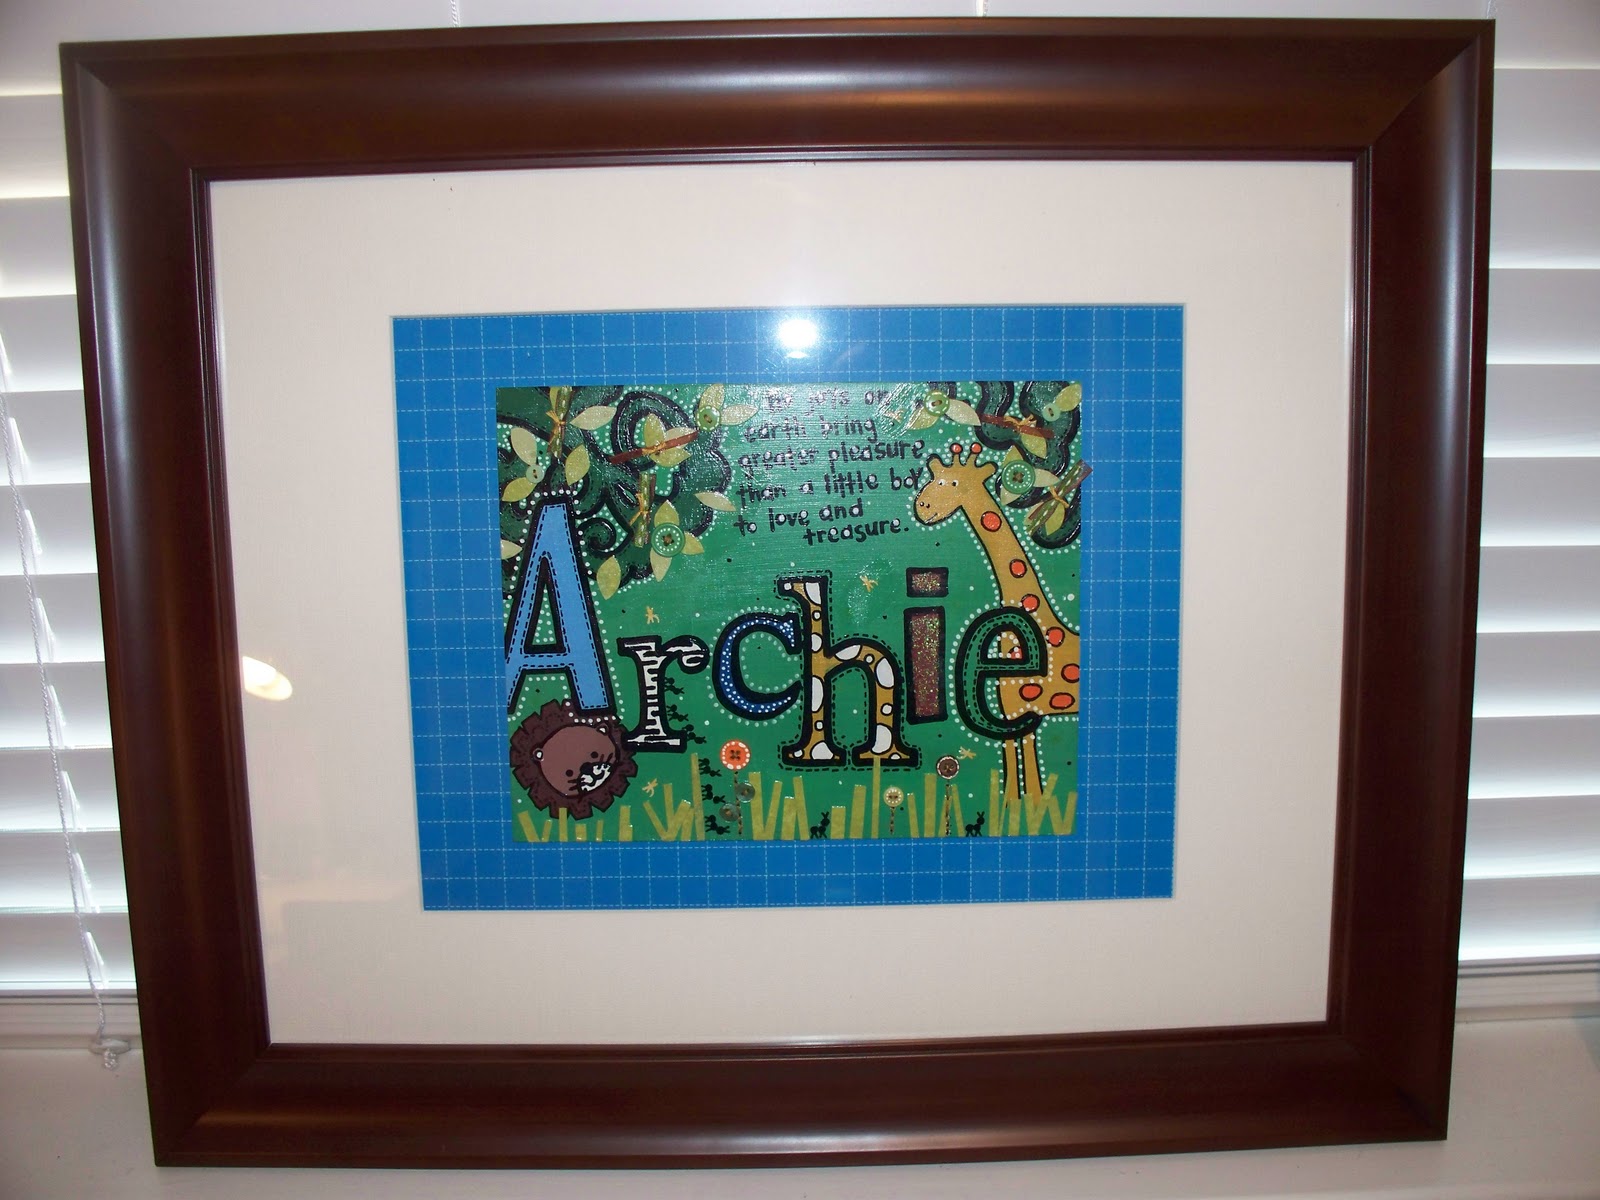
I made another Personalized Name Art for a friend of mine's nursery. I used the fabulous tutorial from Ashley at Lil Blue Boo that you can find here. She gives a very detailed tutorial and it's very easy to follow. She makes hers 5"x7", but I wanted this to be a statement piece so I made mine an 8"x10".

I previously made one of these and it turned out like this
You can find that tutorial here.

I did this one more like Ashley's tutorial and I love it!
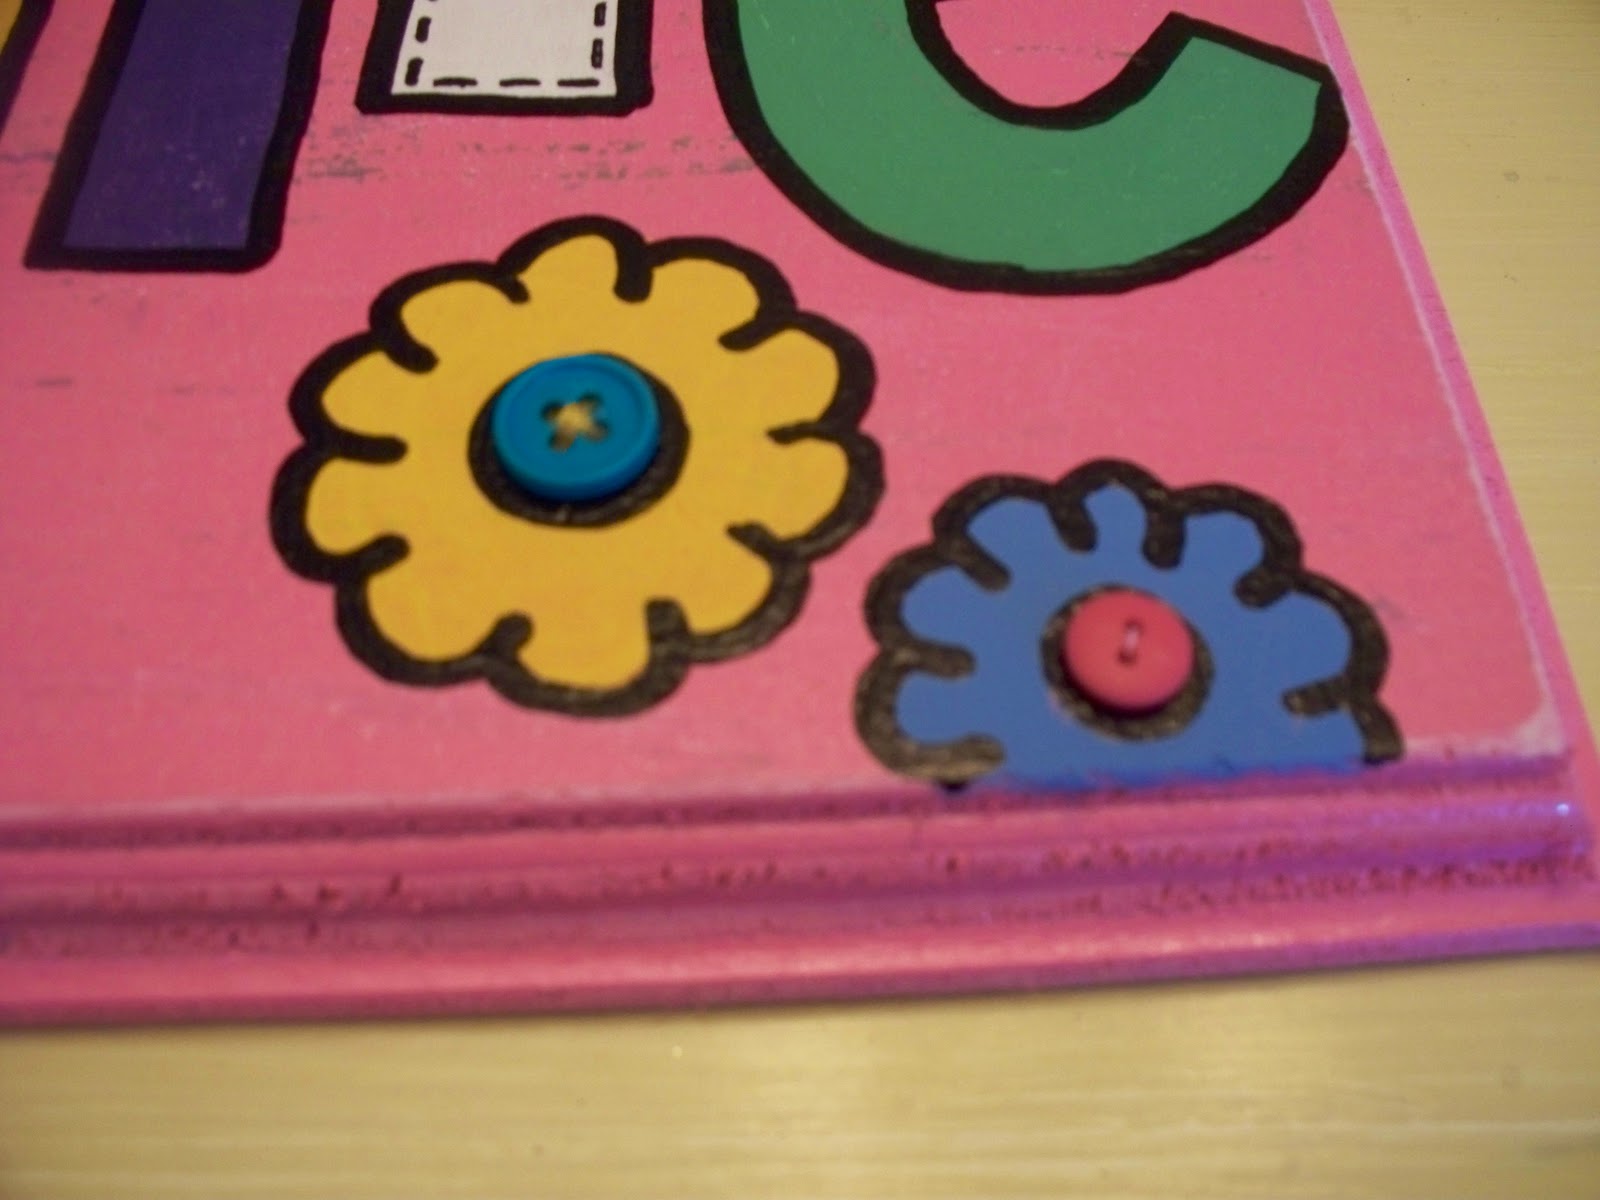
Here is the closeup. 
The new Mommy and Daddy loved it and it is now hanging in their little Archie's nursery!


Monday, October 18, 2010

DIY Cake Stand

Using a few basic supplies, you can make your own cake stand! I found this orange candle stick at a garage sale for 25 cents!! The plate is one from the wedding section at Dollar Tree! Using some E-6000, just stick them right together!
After it dried overnight, I spray painted it glossy white! I added a clear acrylic sealer after that was dry.
Super cute right? It's the perfect little stand for some good fall decorations. I think if I wanted to put food on it, I would add a little piece of scrapbook paper cut to fit.
I love an easy project! 

Wednesday, October 13, 2010

Fall Mantle

My fall mantle has been up for a couple of weeks, I just hadn't taken pictures of it for some reason.  The color block piece that you see on the right was taken from Jennifer at Hope Studios tutorial on a Paint Chip Mosaic. It's made out of paint chip samples for a home improvement store! Go check out her tutorial on how to make this super inexpensive artwork! Today I wanted to show you how I made my leaf art. First, I bought a certificate frame from, where else, Dollar Tree.
I spray painted the frame black. I removed the cardboard center and hot glued burlap to it.
Then, I cut out a leaf using my Silhouette onto cardstock as a stencil.
Silhouette Image Leaf_0476
Then, I used the saran wrap technique to apply my orange acrylic paint. I think by using the saran wrap, it doesn't give it such a "perfect" look. More like and aged, or rough look. 
I put it back in the frame and super glued some buttons on to give it some dimension. Simple. Easy.
Love it.

Tuesday, October 12, 2010

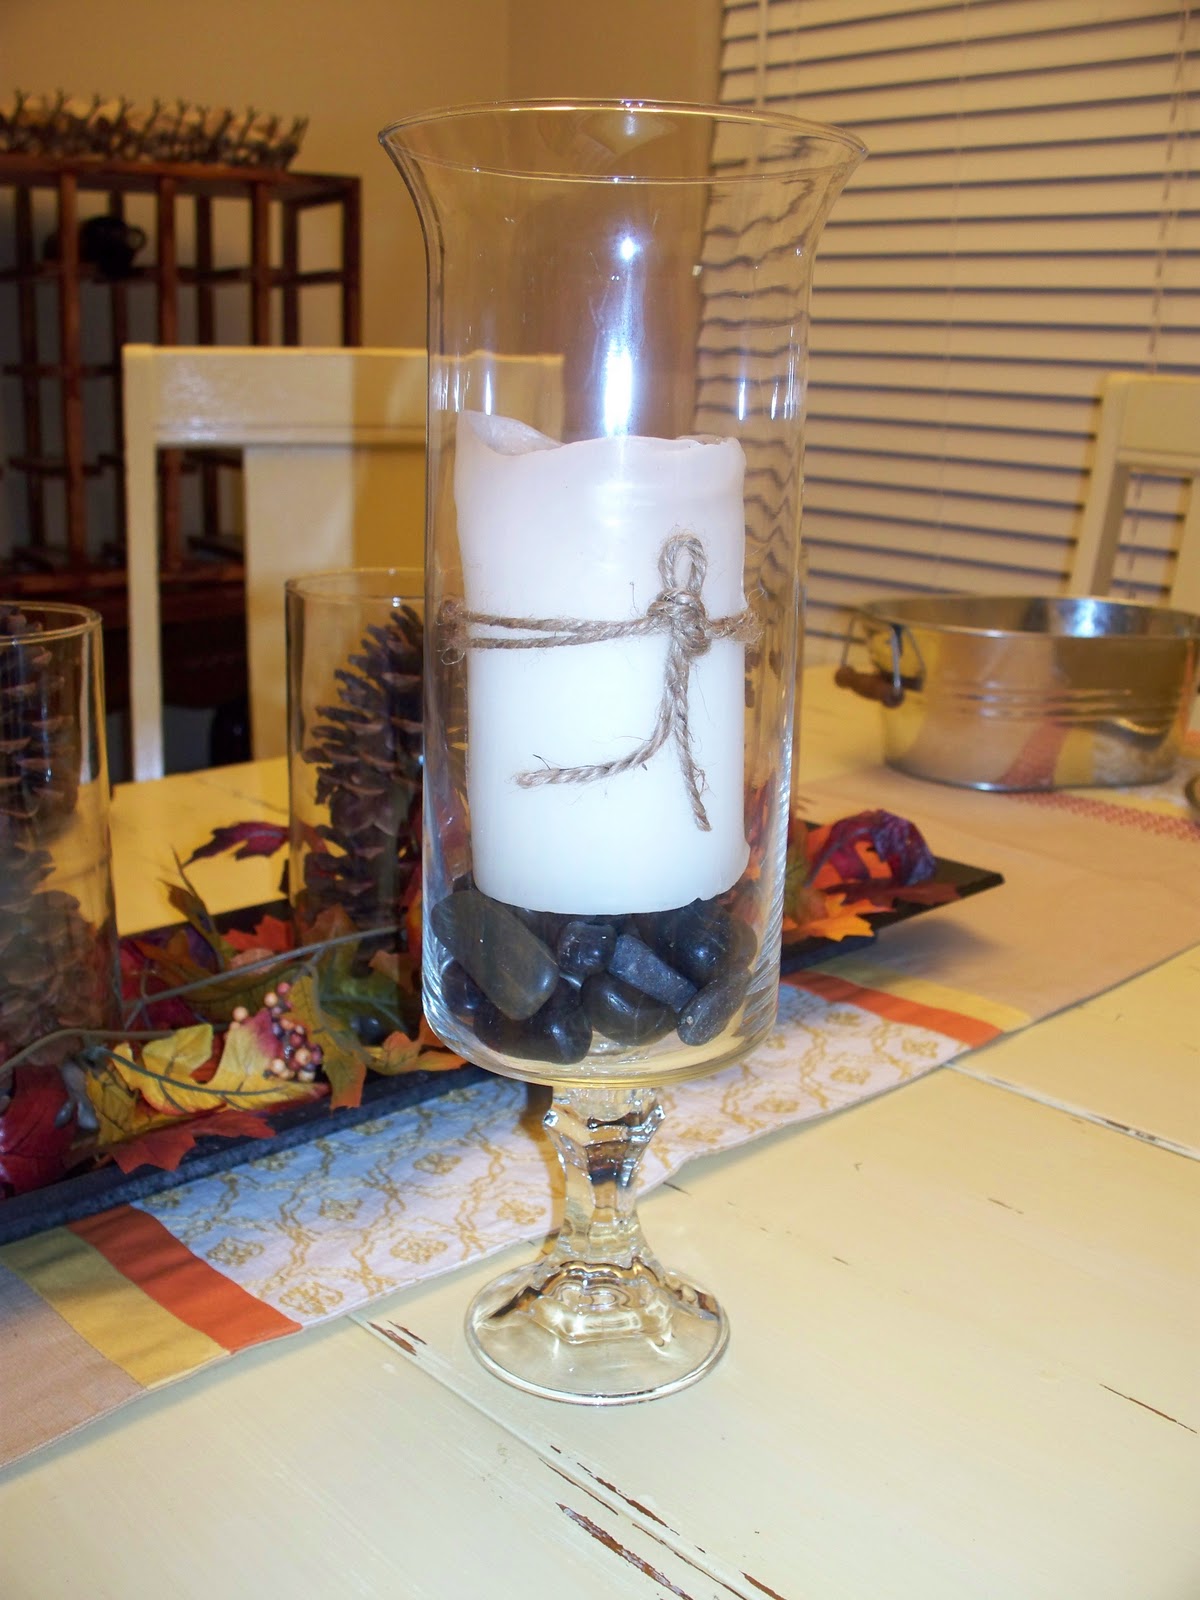
Dollar Tree Hurricanes

So I have been seeing these around the blogs. I'm not sure who originally posted the idea. If you do, let me know and I'll give them credit!
Dollar Tree is selling these glasses and candlesticks. $1 a piece, you can't beat that!
Add a strong adhesive to the bottom and you have a really expensive looking hurricane! The ones below are my Mom and sister's. For theirs we used the taller glasses also from Dollar Tree then mine in the picture above. 
Add some decorations to the inside and you have a really great looking piece, for $2!!

Monday, October 11, 2010

Fall Wreath for my Mom

My Mom wanted a Fall Wreath for her door so we headed to get our supplies.
We pulled the leaves off the stems and glued them on individually.
Then, we added some little foam beads in fall colors with the glue gun. It turned out cute! 
Happy Fall!

Sunday, October 10, 2010

Super Easy Project!

My Mom was in town this weekend, which really motivated me to do a bunch of projects that I had been wanting to do. This first one was SUPER easy, but it makes such a great look when it's all finished!
Using my Silhouette, I cut out vinyl letters in Georgia font. Stuck them straight onto some plates that I already had that matched my kitchen, and Voila! The hardest part of this project was making sure they were straight on the plate hangers and hanging them on the wall! 
I love them! They really add a pop when you turn the corner! Yay for fun easy projects!

Wednesday, October 6, 2010

Fall Wreath

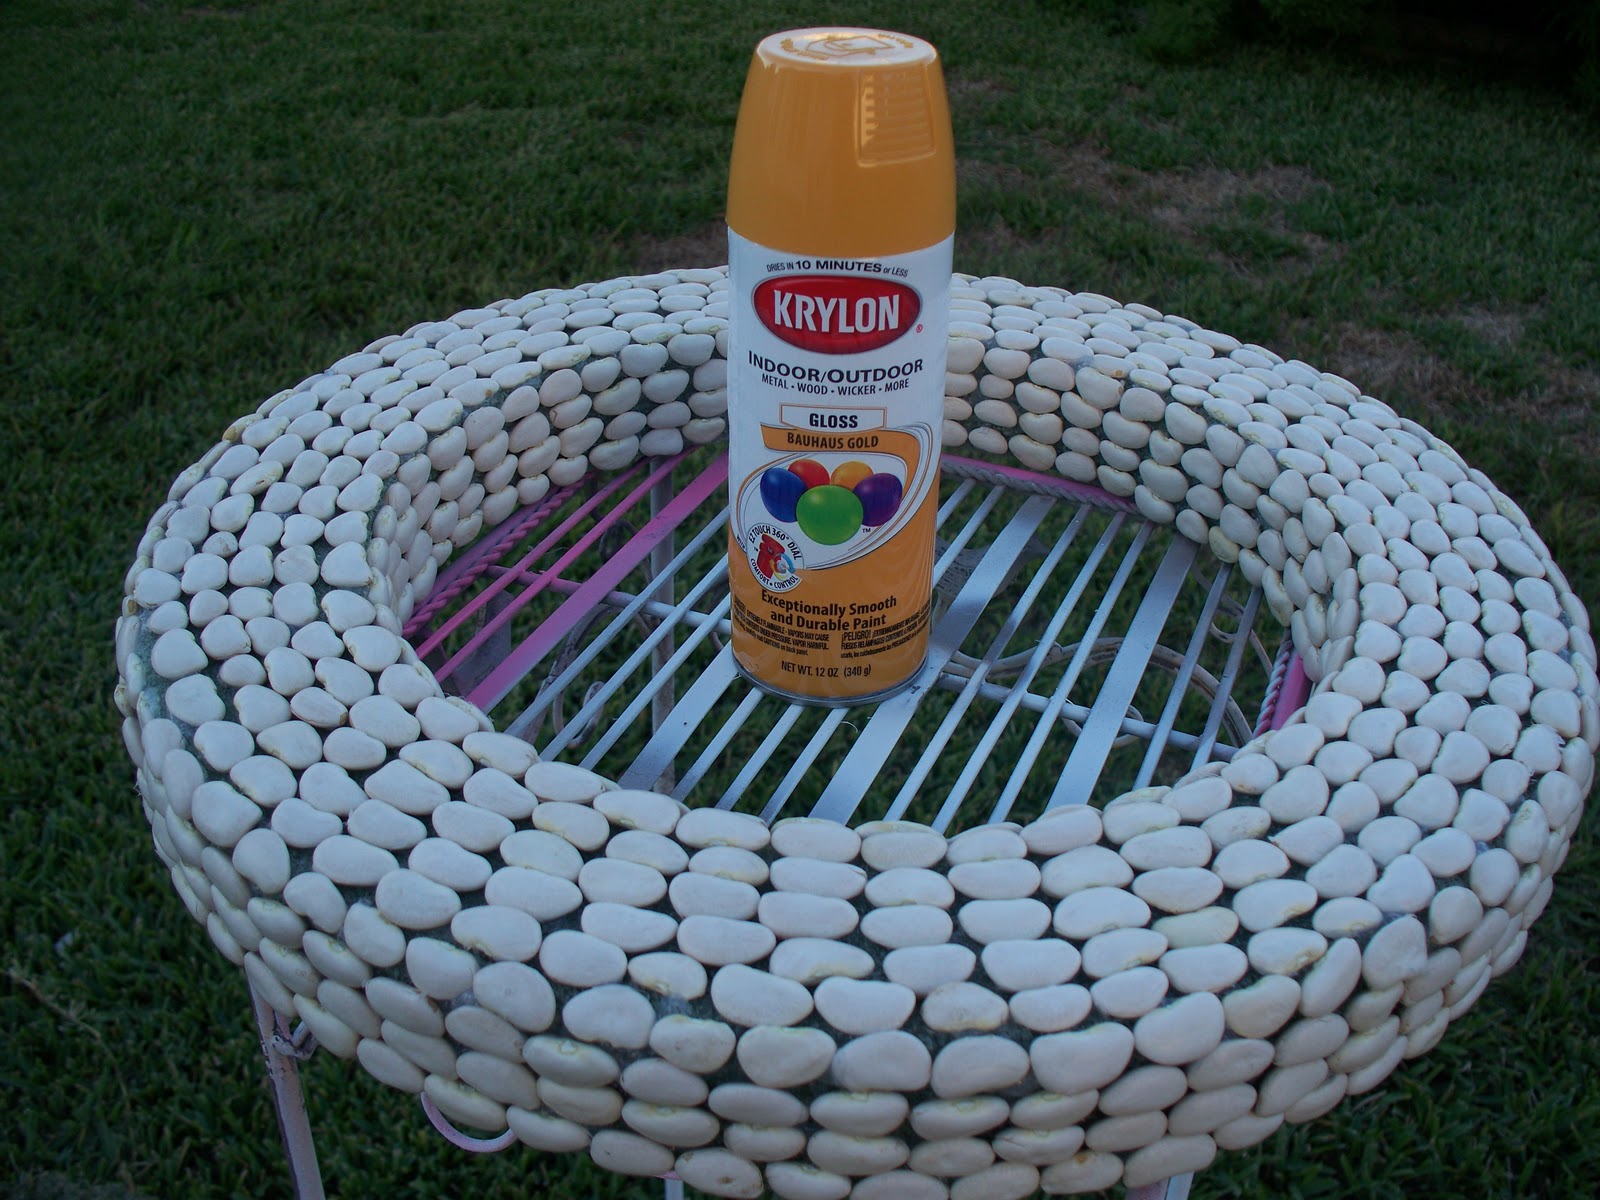
Well, it was about that time to take down my Summer Wreath. Although I loved it, I have been itching to get my fall decorations up. Brooke at All Things Thrifty had posted this lima bean wreath tutorial and I knew this was exactly what I was looking for. The thing I was most giddy about was the paint color that I knew I was going to choose.

For this project I used one 2 pound bag of lima beans.
I started by first covering the front side of the wreath form. I just piled all the beans up in the middle and just grabbed and hot glued.
 For the sides, it was easiest to sit on the floor and place the wreath up and down and just glue and rotate.
 Then, I did the same thing on the inside of the wreath. I left the back completely blank, so it would lay flat against my door. Next up was COLOR!!
 Can we talk about this color? Krylon's Bauhaus Gold. It's a warm mustard yellow. LOVE! I knew against my red door, with my orange pumpkins for fall, that Mustard Yellow was the way to go. It's my new favorite color.
 Yay! So simple, so sophisticated looking.
 Who knew lima beans could look so good??

Monday, October 4, 2010

Diaper Wipes Case

I wanted to show you the other gift that I made for my friend's baby shower. Using Sister's Stuff tutorial, it was really super simple! These are great gifts and so stylish!!
 Love it!

Sunday, October 3, 2010

Baby Name Board

I'm not an artist. I think there is a real difference between someone who can craft, and create things, and an artist. Being an artist takes some real talent. So when I saw this post over at Little Blue Boo I put it in my "Dream" folder. Ashley is a true artist! I absolutely love the way the layering on her pieces looks. She has made a bunch of these, and they are all different, unique, and just perfect!  You can see some of her other ones by clicking here, here, and here. 

So, a friend of mine was having a baby shower and I thought I would just attempt to create something like this. I kept saying to myself that if I messed up it was OK. I could just sand it down and use it for another project, right? Right. So, with Ashley's projects as inspiration I started working on my piece for Miss Kallie Joann. I used different elements from her pieces that I absolutely loved. I started with a wood plaque and spray painted it white. I added some vinyl letters that I cut using my Silhouette. I spray painted the whole thing with Valspar's Tulip Pink and peeled off the letters when it was dry.
I then painted each letter with a fine tip brush. I used all acrylic paints.
 I used Ashley's advice and bought a medium point and fine point black paint pen. I outlined everything with the medium point paint pen.
 I then added different elements to each letter. For the stitching, I used a fine point black paint pen.
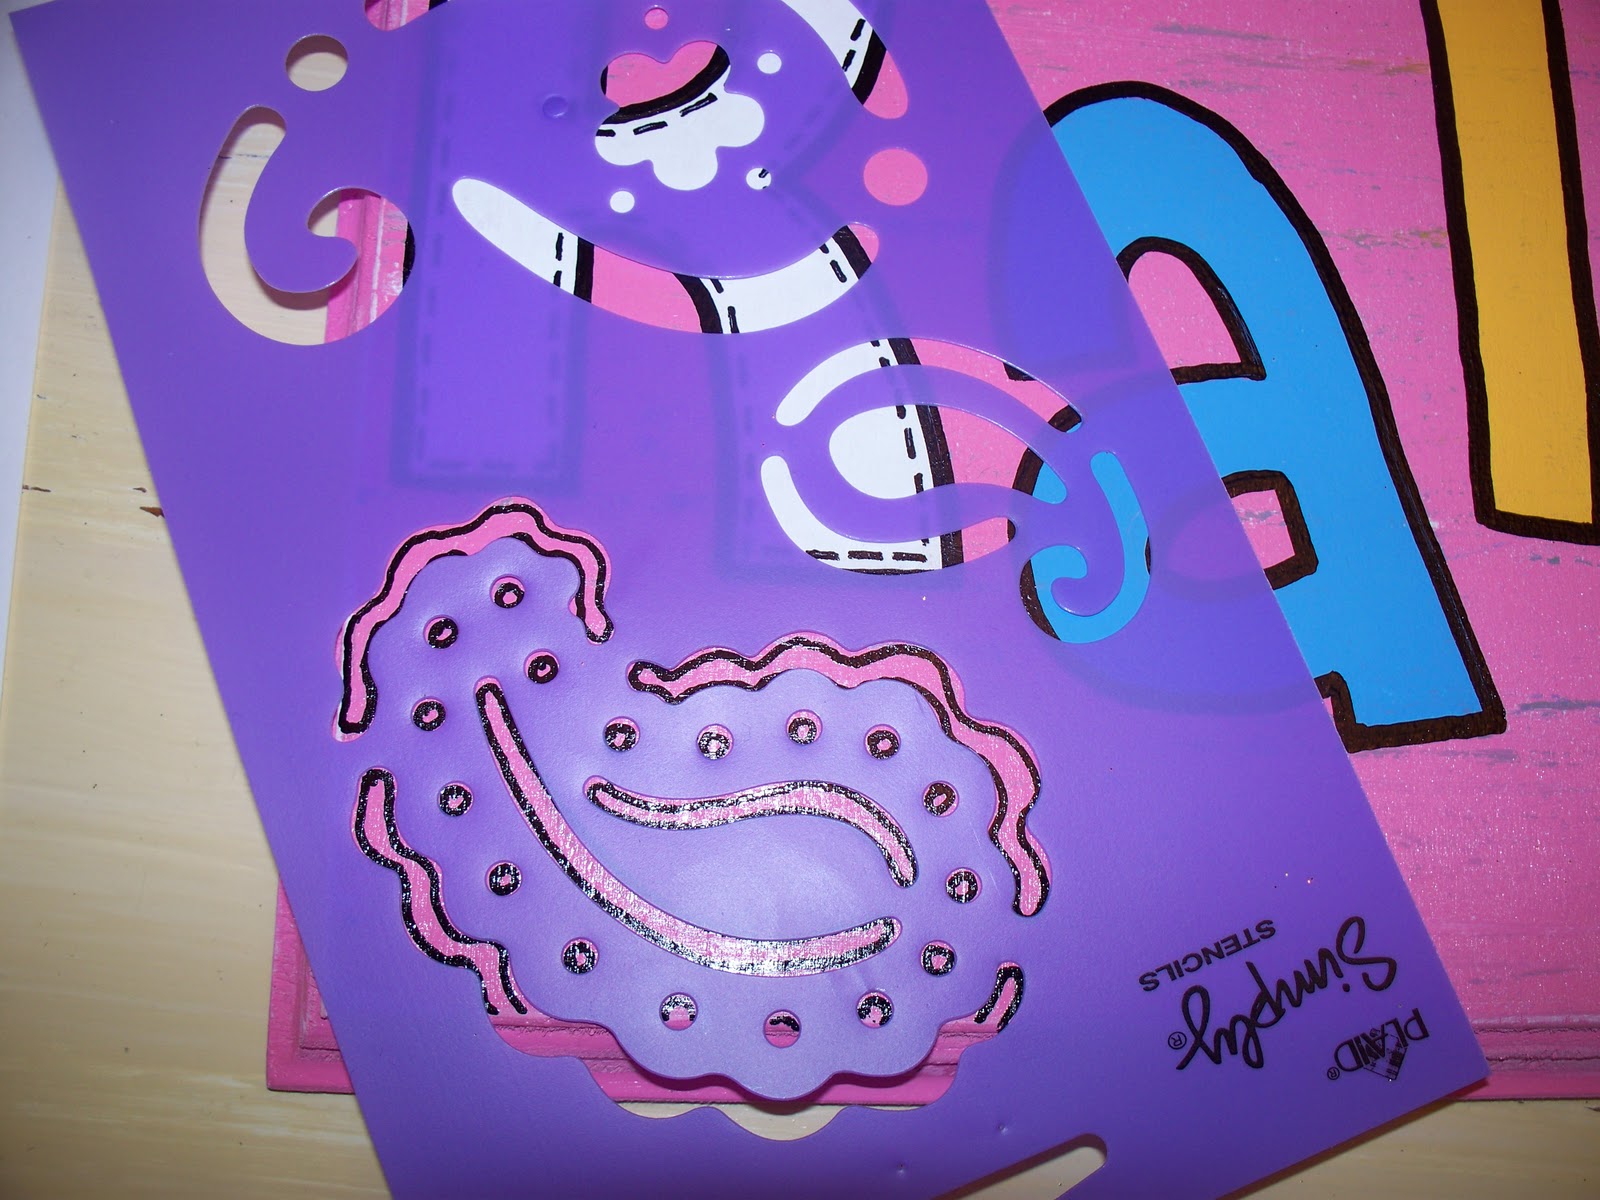
 I used a stencil in two of the corners. I outlined them with a pencil, and then filled them in with the paint pen.
 For the centers of my flowers I added stitching to my button holes and hot glued the buttons on.
 To add more dimension, I used a paint brush that the tip had come off of and added dots to different parts of the letters.
 I free handed the little saying with my fine point paint pen.
 I love how it turned out. I think for my first one, it worked out pretty well.
 Most importantly, Kallie's Mommy loved it!!
UndertheTableandDreaming