Showing posts with label wreath. Show all posts

Monday, October 11, 2010

Fall Wreath for my Mom

My Mom wanted a Fall Wreath for her door so we headed to get our supplies.
We pulled the leaves off the stems and glued them on individually.
Then, we added some little foam beads in fall colors with the glue gun. It turned out cute! 
Happy Fall!

Wednesday, October 6, 2010

Fall Wreath

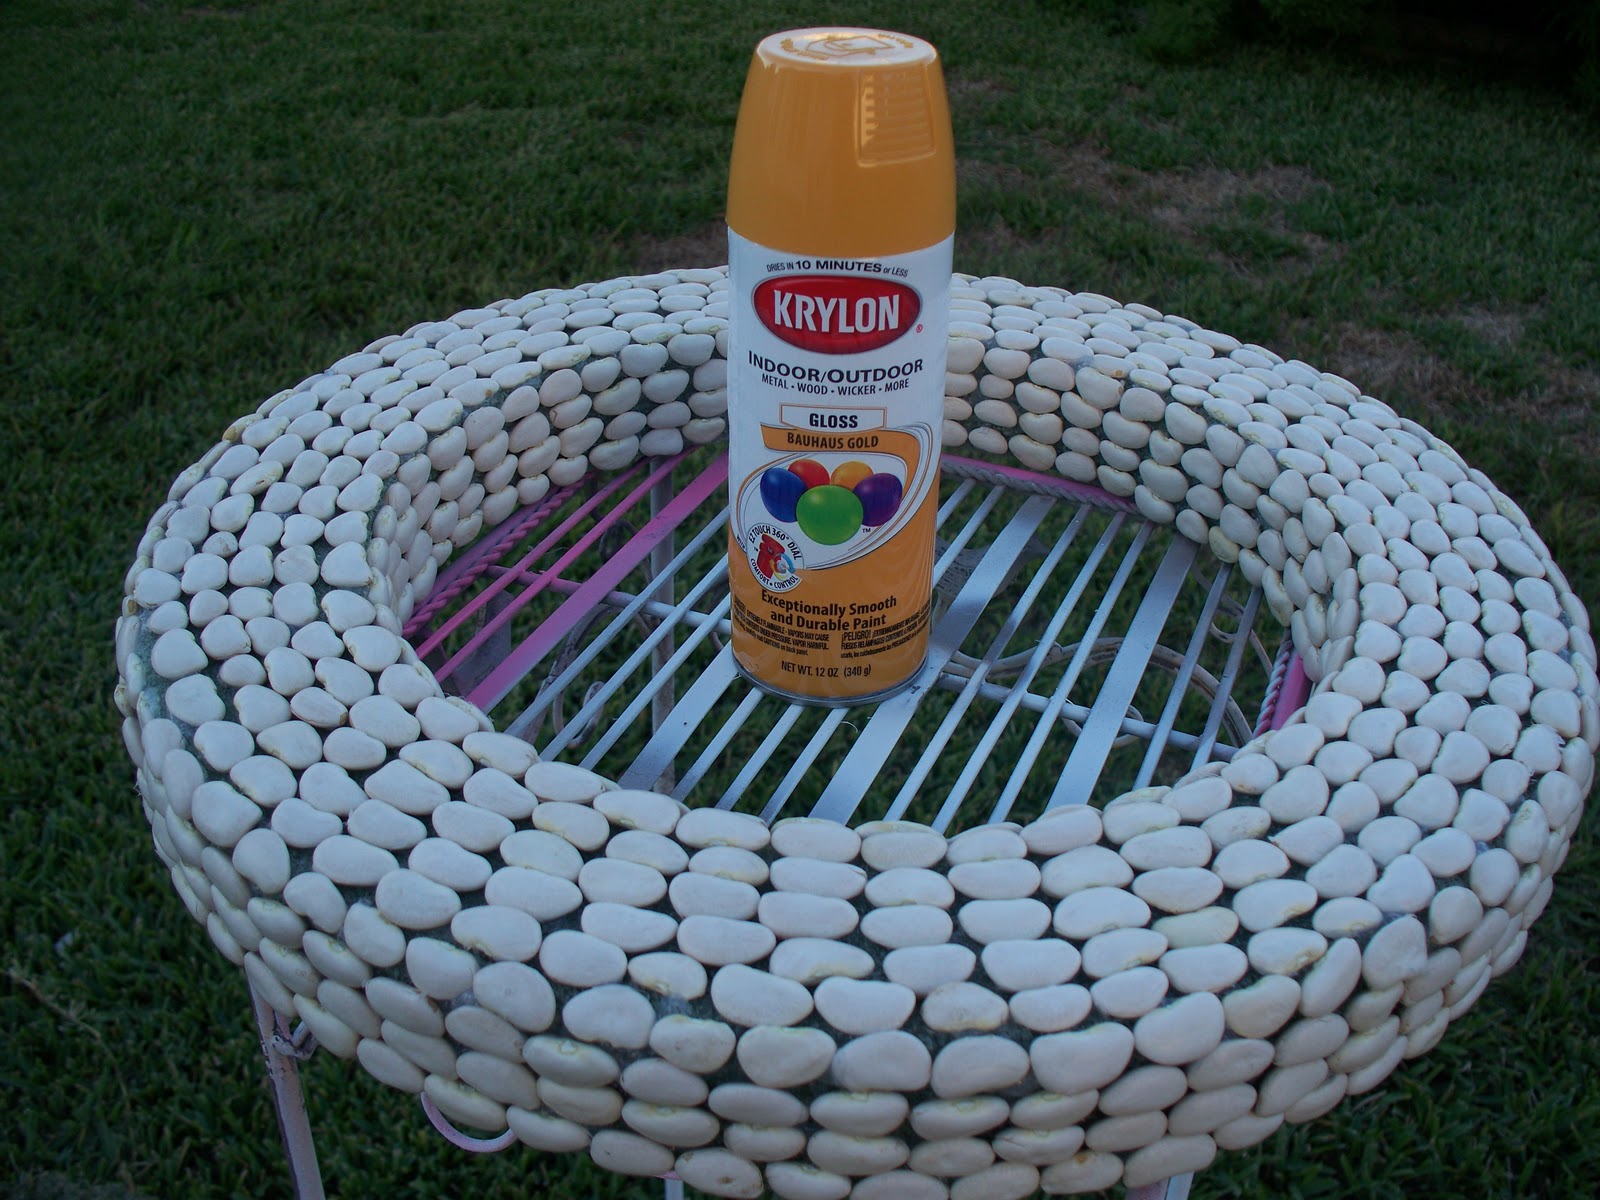
Well, it was about that time to take down my Summer Wreath. Although I loved it, I have been itching to get my fall decorations up. Brooke at All Things Thrifty had posted this lima bean wreath tutorial and I knew this was exactly what I was looking for. The thing I was most giddy about was the paint color that I knew I was going to choose.

For this project I used one 2 pound bag of lima beans.
I started by first covering the front side of the wreath form. I just piled all the beans up in the middle and just grabbed and hot glued.
 For the sides, it was easiest to sit on the floor and place the wreath up and down and just glue and rotate.
 Then, I did the same thing on the inside of the wreath. I left the back completely blank, so it would lay flat against my door. Next up was COLOR!!
 Can we talk about this color? Krylon's Bauhaus Gold. It's a warm mustard yellow. LOVE! I knew against my red door, with my orange pumpkins for fall, that Mustard Yellow was the way to go. It's my new favorite color.
 Yay! So simple, so sophisticated looking.
 Who knew lima beans could look so good??

Sunday, June 20, 2010

Freecycled Summer Wreath

I decided that it was time to make a new wreath for our front door. I wanted something fun and colorful for summer. I grabbed some *inspiration* from my most favorite blog, Tatertots and Jello.
I used parts of her Whimsical Spring Wreath and Burlap Wreath and combined it with some inspiration from Amy's Freecycled Napkin Rings from Positively Splendid.
I started with a Dollar Store Wreath Form and wrapped about a 2-inch section of burlap all the way around and glued it with good ole' Tacky Glue.
As I started making my flowers I decided that my wreath form was too skinny. So, how was I to beef that bad boy up....Ah, ha! I added my smaller wreath form from this tutorial I showed you. I used my jute and sisal from this tutorial and attached it all the way around. Now, it does look a little wonky...but, sometimes I like the way wonky looks!
After this came the FUN part, making all the different kinds of flowers! I used soda cans and water bottles to make all the different types of flowers.The cans were easy to cut with just regular scissors, and I hot glued the different shapes to one another.
Then, I spray painted some with my ocean breeze paint and painted some others by hand with some yellow acrylic paint that I already had. Then, I cut out some different sized circles of burlap and fabric that I had bought for a failed project..... that's just not finished yet. I attached the circles with hot glue.
I added my flowers to my wreath with hot glue, and I sure do love it! I love how the roughness and craziness of the two forms looks with the bright colors and cutesy fabrics. It's super kooky..but I'm realizing that I must be a little kooky myself to like such things!
Love, love, love, love, love, love it against my red door! And the best part is that I had everything except the $1 wreath form. So, a super fun, kooky, wreath for $1! You just can't beat it!
Join us Saturdays at tatertotsandjello.com for the weekend wrap up party!UndertheTableandDreaming


Funky Junk's Saturday Nite SpecialMakingVisit thecsiproject.com

 
giveaways