You know when you have an idea floating around in your head and you think that there is no way that it will ever work out? Well.... this time, it did! And I'm super giddy about it. There's such a good feeling about looking at something and knowing that you created it, made it, and it actually looks good!
I've been searching for some kind of art work to go in my dining room, with no luck. I knew the look I was going for, but I couldn't find anything to match it. Well, my friend Kristen had this art piece sitting in her garage and she didn't want it. She asked me if I wanted it (THANK YOU!) and I figured I could come up with something to do with it. Now... I'm sure there is some pear-loving, muted-colored, fancy-art loving person out there that is just yelling at me through their computer that I painted on top of this, but... I'm not one of those people...so....sorry!!!
That is what I started with. I was going for a rustic look..and here is how I got it.
First, I gave the piece a light sand so that everything would stick. I painted the edges and center portion brown (espresso bean to be exact).
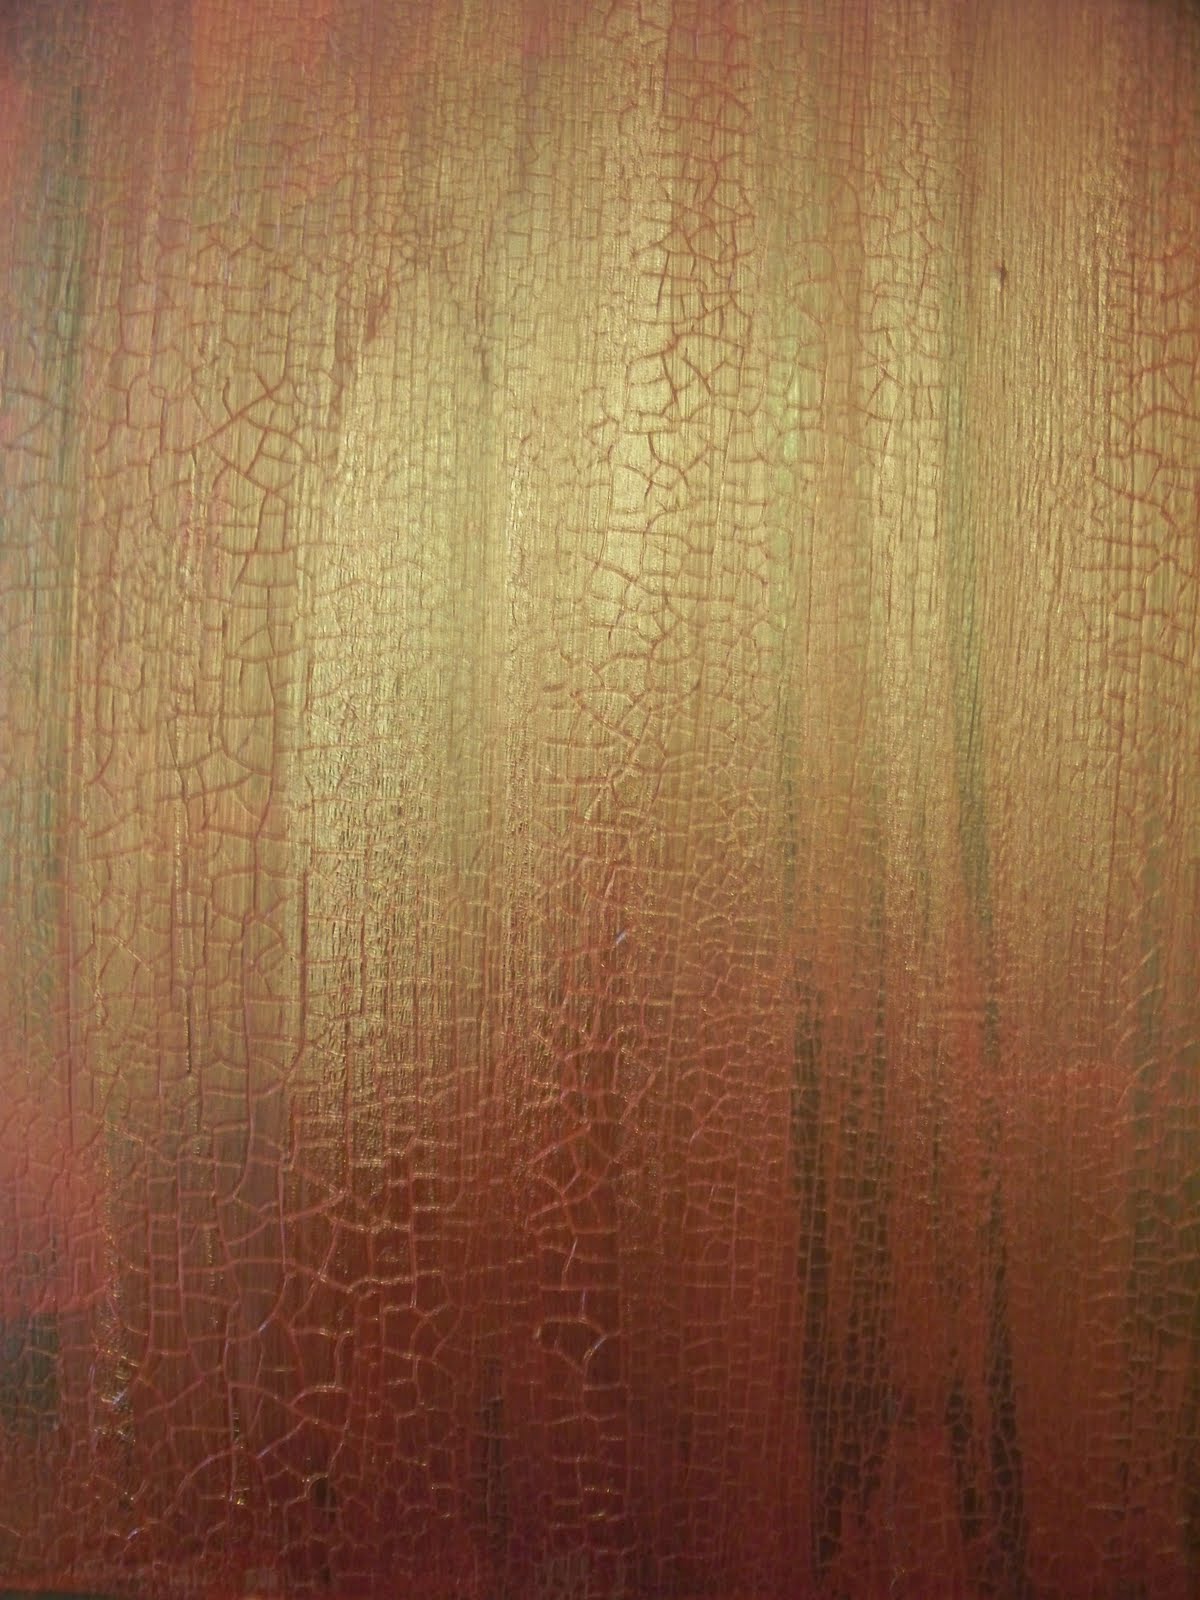
I wanted the center to look rustic as well, so I painted on a crackle finish. I added a deep red (wine) paint on top of it, but left parts of the brown coming through, almost a streaky effect here and there.
I wanted a woodsy outdoorsy rustic feel...and I knew I wanted to use wood, but man that would be a lot of work! Well...believe it or not...I found some PAPER that looks just like wood. Very realistic! Paper people! I cut it to fit around the middle portion and used my Mod Podge to glue it and seal it. I used a Walnut Stain ink to distress the edges and then inked different parts of the paper, like real wood would have on it.
And now the FUN! I bought a
SILHOUETTE!!! You've seen them if you've been reading the blogs. They are the newest and most amazing cutters out there! They can do so much stuff. I got mine after the first blog reader discount hit the stands, over at
How Does She? It was such a good deal! OK...sorry...back to the project! I used my silhouette to make a stencil on cardstock of a set of silverware. I crumbled up a plastic bag and just lightly dabbed it with some antique white paint to stick with the rustic feel.
Silhouette Design Silverware_0772
Now..stick with me..I thought I was done, but then decided that it needed something...so here is where my brain got to turning. I wanted to add burlap to cover up where my paper met on the sides. When I put it against the wood paper, it just didn't have enough contrast. So, I got creative. I cut pieces of red burlap to fit underneath my neutral burlap and used spray adhesive to attach them. I'm not sure if you can tell from the pictures, but it just gives it that little bit of contrast that it needed, and blends really well with the color in the middle.
To polish off the edges I added my jute (helloooooo, obsessed!) with spray adhesive to make the burlap look straight. And here she is... isn't she purty?
Giddy, people, giddy!!!! I smile everytime that I look at it. That's the power of crafting!